Just wanted to show my first woodworking project since a while, a shooting board. In case you have no idea what it is: a shooting board is a simple jig to straighten the end-grain of wood, possibly under an angle.
In the first few minutes of this tutorial, the concept is briefly shown. Basically, the jig to allow your plane to slide part the end of a wooden plank or beam. The tutorial is one from Paul Sellers, and his videos inspired me to pick up woodworking again. He has a clear and down to earth way to demonstrate and teach basic techniques with simple hand tools which works great for me.
I also followed that tutorial to make my board. Making this allowed me to practice my chiselling skills, and I could put the knife wall technique Paul advocates into practice.
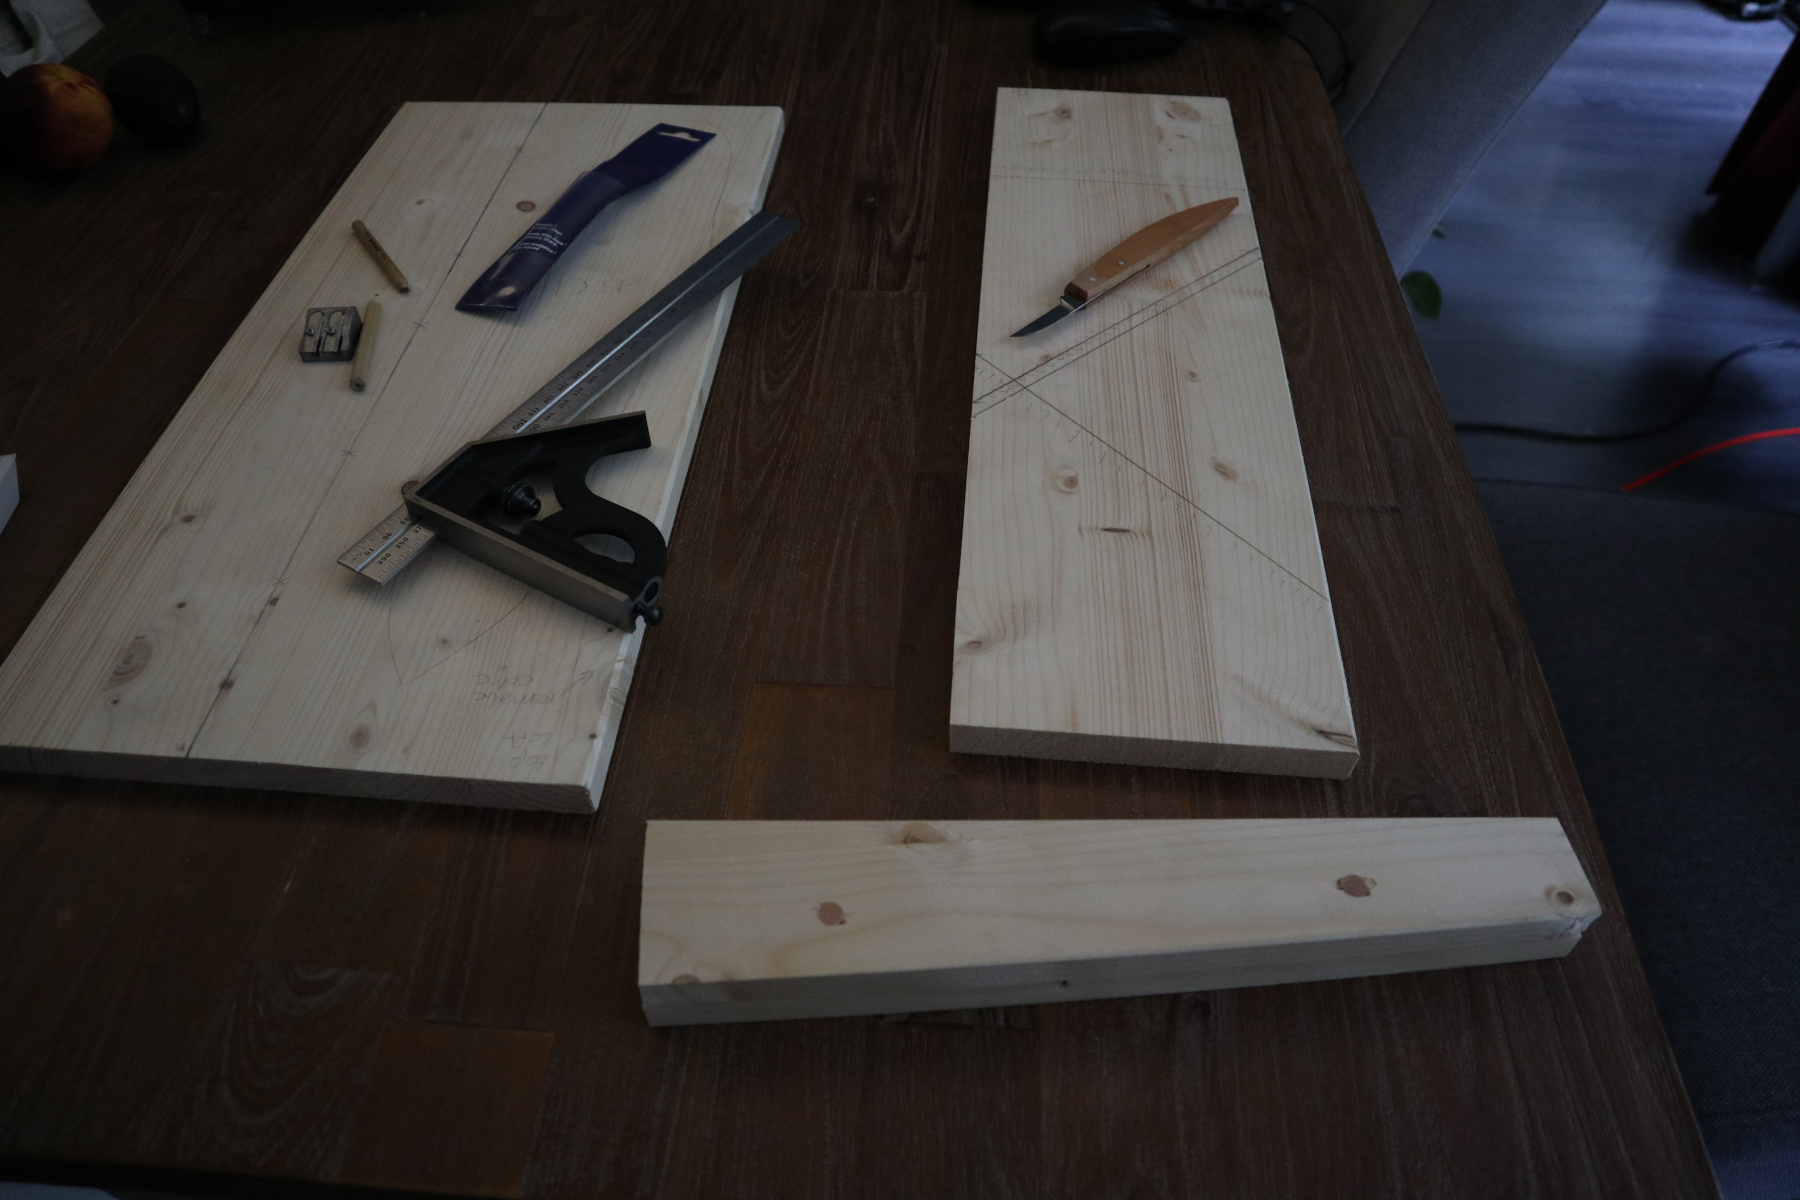
For material, I used simple pine wood, readily available at my local utility shop. It was cheap, and if I messed it up I could easily start (a part) anew without feeling bad about it. The stock required only a little bit of straightening out with a plane. As you can see in the next picture, I made three slots, allowing me to straighten stock in -45, +45 and 90 degrees. During drawing the layout, I changed my mind by overlapping both 45 degree slots a bit more to reduce the amount of chiselling required later on.
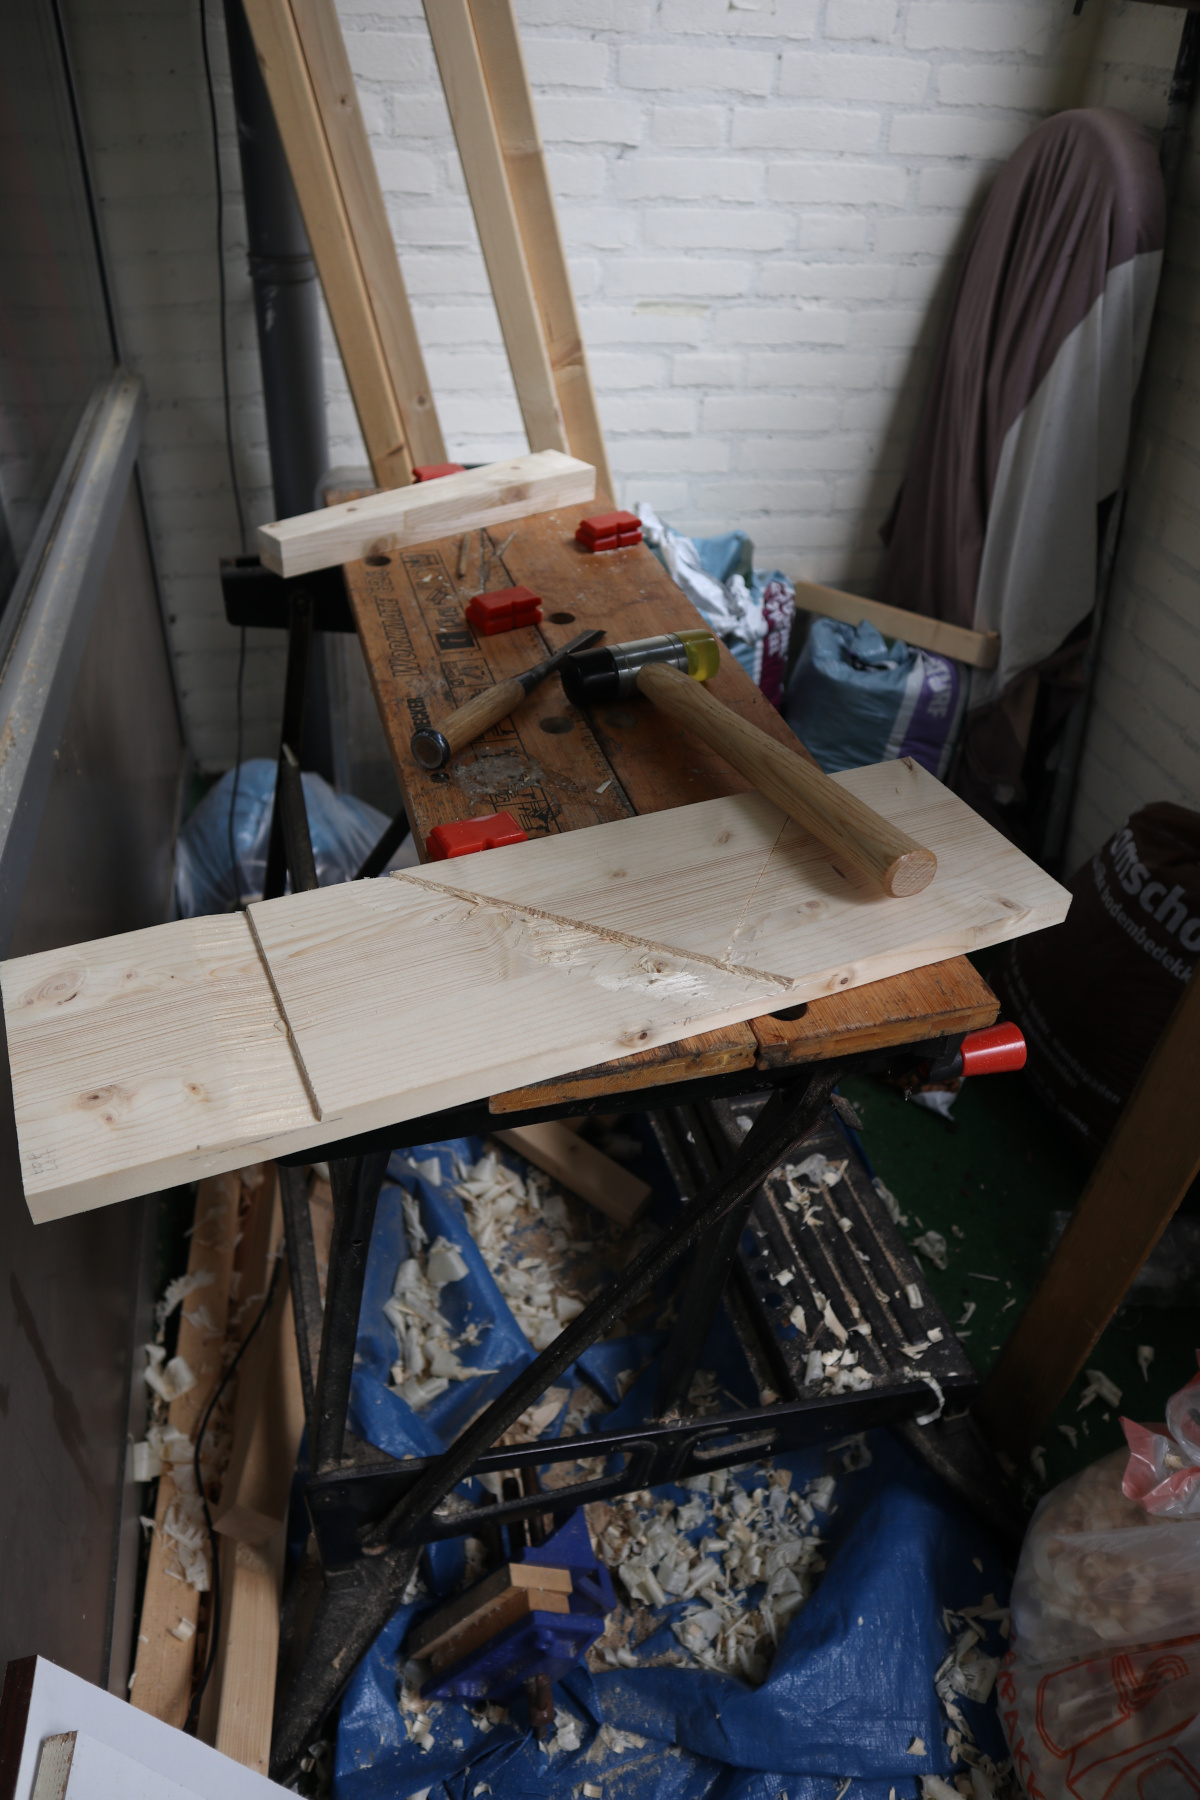
Next up, the actual chiselling. Here you see the first wall being made using the knife wall technique. In essence, what you do is breaking the fibres with a knife at the edge of the slot. Then remove the material with those cut fibres with the chisel. One thing you do not see here is the location of the second wall of the slot. This is done on purpose! First, I make one wall until it matches the required depth. Then I use the stop to determine where the opposing wall must be made. Off course I take the size of the stop into account when removing material. But I only draw the second wall when the first wall is at depth and cleaned up. This way, the slots are made to fit the stops exactly. Or almost in my case… I still need some more practice.
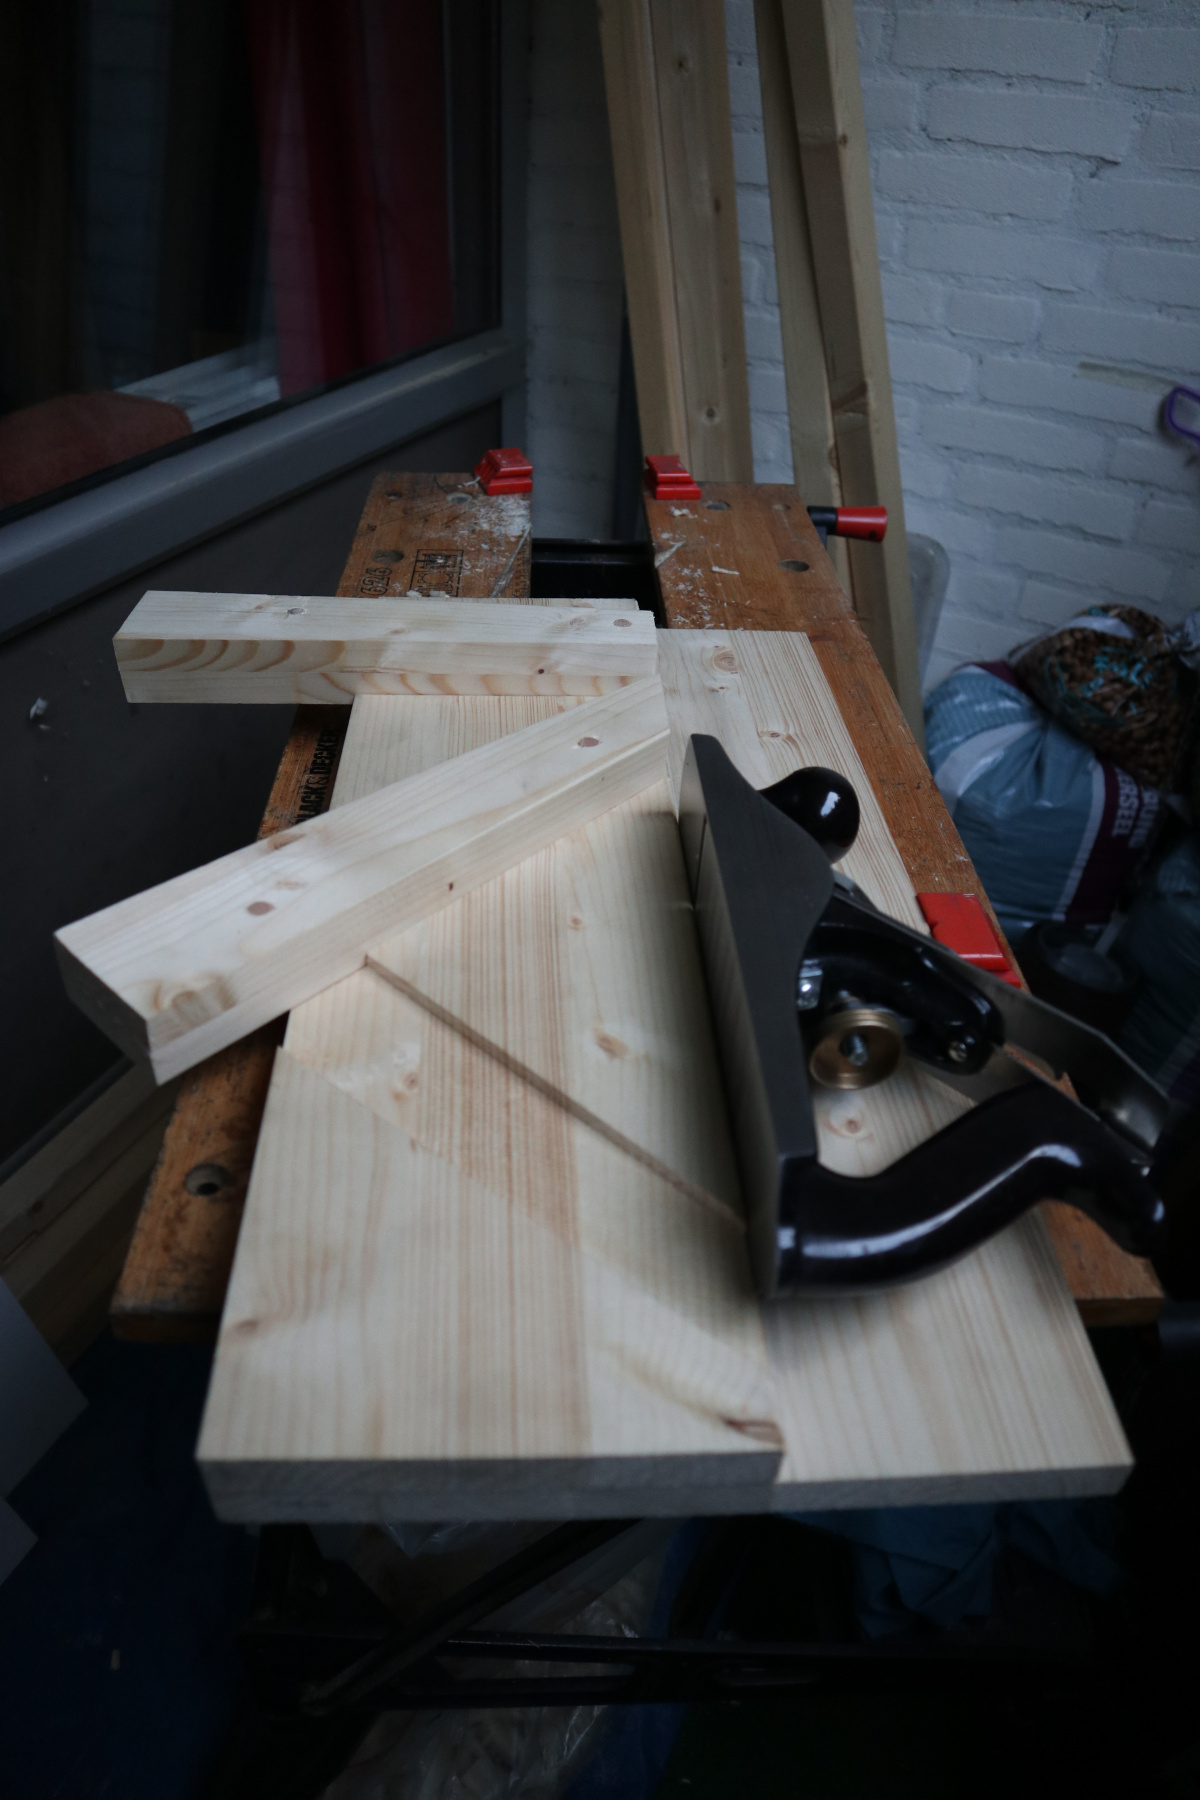
As you might be wondering now, if I removed the material from both sides facing the wall, there must be some material left in the centre. You would be correct. For that, I used a ground place to remove, straighten and smooth the slot surface.
I did have trouble with tear-out in the middle slot around the knot. The grain changes direction there, therefore I had to attack it from different angles. In the end, I noticed I had to plane the top part from the right and curve up with the grain while doing the opposite for the lower part.

Once I cleaned up the slots and made both stops to size, the board is done.
I rather enjoyed this quick project as it made me practise a basic skill and got a useful jig which I need for the next project. Almost as if I planned it ![]() .
.
I will have to practice this knife wall more, as they were not as clean and straight as I would like them to be. One tip I picked up is to properly position myself before the project and to help myself I will get myself a larger chisel as well (I used a 16mm for this work).
Up to the next project.